

Hey guys, what's going on? Plasticfunnel back with another tutorial on Borders. I suggest using Photoshop, but any other image editing software will be fine. The borders really add to an in-depth feel to your RSMVs, especially when you attempt to convey a storyline, this allows viewers to understand which parts are storyline-related, causing them to be easier to follow - but it could be used any way too! :D

1. Set the settings to the ones mentioned above. Alternatively, you may use the width, height parameters to the one in which you are planning to render in. I recommend the settings above.

2. Click OK, this will bring you to a interface similar to the one above. The panel in the centre is where your artwork is located. The one to the left are the tools menu, the one to the right is the layers menu. We will focus only on these three things for now. Make sure that your layer selected is TRANSPARENT (Checkerboard).

3. Select the Brush tool, and select which brush you would like to use.

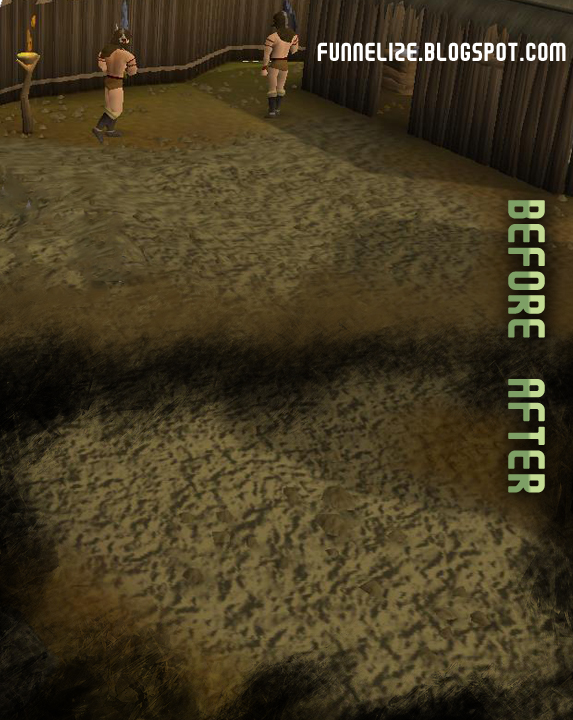
4. Simply play around with it and experiment with different effects. I suggest using the color Black or White for stronger contrast on the film itself. You may also like to put a random Runescape Image on a layer below the layer you are working on, so you get a better idea of what your border will look like with Runescape.

5. When you have completed. Go to File > Save As, and save as PNG. Note that saving in other formats may not work and have the transparent effect.
6. Simply drag and drop your Border on a layer on top of the film you are working on, in Sony Vegas Pro (or any video-editing platform you use)
Hope that helped! :) If you have any questions Comment Below!
 Sharing is Caring


Nice tutorial... detailed !!
ReplyDeleteAuto Typer RS Auto Clicker
Nice tut, you could help with projectrsc.com
ReplyDeleteThank you very much for this great post.
ReplyDeleteosrs accounts